Chocolate is one of the most loved ingredients in the world of baking, admired for its smooth texture, glossy finish, and irresistible flavor. Yet, mastering the art of tempering chocolate remains a challenge for many. Tempering is the process of heating and cooling chocolate to stabilize its crystals, ensuring that it sets perfectly with a snap and a shine. Many aspiring bakers explore this technique through professional courses such as Cake Baking Classes In Velachery, where they learn not only how to temper chocolate but also how to use it for decorations, coatings, and desserts.
1. Understanding the Science of Tempering
To temper chocolate successfully, it’s important to understand its chemistry. Chocolate contains cocoa butter — a fat that crystallizes in several forms. Only one of these forms (the beta crystal) gives chocolate its ideal glossy finish and firm snap. Tempering ensures that only the right crystals form when the chocolate cools.
When chocolate is melted and cooled incorrectly, it can result in a dull surface or a grainy texture, often called “bloom.” Bloom happens when fat or sugar separates and rises to the surface. Proper tempering avoids this by aligning the cocoa butter crystals perfectly, giving the chocolate both beauty and stability.
2. Types of Chocolate Used in Tempering
Not all chocolates behave the same way during tempering. The three main types — dark, milk, and white chocolate — each have different melting points and compositions.
Dark Chocolate: Contains more cocoa solids and less milk, which makes it ideal for tempering due to its stable structure.
Milk Chocolate: Has added milk solids, requiring slightly lower temperatures to avoid burning.
White Chocolate: Contains only cocoa butter and milk solids, making it the most delicate to temper.
Understanding these differences is crucial for bakers who want to work with multiple types of chocolate in their creations.
3. The Step-by-Step Tempering Process
Tempering chocolate may sound intimidating, but once you understand the technique, it becomes a rewarding skill. The most common methods include tabling, seeding, and microwave tempering.
Tabling Method:
Melt two-thirds of your chocolate over a double boiler until it reaches 45–50°C (for dark) or 40–45°C (for milk and white).
Pour two-thirds of the melted chocolate onto a clean marble surface.
Use a scraper and spatula to spread and fold the chocolate continuously until it cools to around 27°C.
Return the cooled chocolate to the remaining warm chocolate and stir until the mixture reaches about 31°C (dark), 30°C (milk), or 28°C (white).
Seeding Method:
Melt two-thirds of your chocolate to the same temperature range as above.
Add finely chopped solid chocolate (“seeds”) to the melted batch.
Stir gently until the temperature drops to the correct working level.
Remove any unmelted pieces and check the consistency — it should be glossy and smooth.
Microwave Method:
Place finely chopped chocolate in a microwave-safe bowl.
Heat in short 15–20 second intervals, stirring in between.
Stop once the chocolate is almost melted and stir until fully smooth and slightly cool.
These methods differ in approach but share the same goal — to create chocolate that’s beautifully tempered and perfect for coating or molding.
4. The Role of Temperature and Tools
Temperature control is the key to perfect tempering. Even a slight variation can ruin the process. A digital thermometer is essential to ensure precision. The use of marble surfaces or stainless steel bowls helps maintain stable temperatures during cooling.
The environment also matters. Work in a cool, dry area since humidity can cause chocolate to seize (turn grainy). Keep all tools completely dry because water and melted chocolate never mix. Once mastered, tempering becomes an almost meditative process — a balance of heat, patience, and timing.
5. Common Tempering Mistakes and How to Avoid Them
Even experienced bakers face challenges when tempering chocolate. Some of the most common mistakes include:
Overheating the chocolate: This causes cocoa butter to separate. Always heat gently using a double boiler.
Not stirring enough: Stirring ensures even temperature distribution and prevents uneven cooling.
Skipping the test: Always do a small test by spreading a bit of chocolate on parchment. If it sets quickly with a sheen, your tempering is successful.
Reheating too much: Once tempered, chocolate should be kept warm but not hot. Overheating ruins the crystal structure and requires starting over.
By being attentive and patient, these issues can easily be avoided. Professional bakers often emphasize the importance of testing and maintaining steady conditions throughout the process.
6. Learning from the Experts
Many beginners struggle to achieve that perfect chocolate shine on their own, which is why structured training helps. Programs such as Baking Classes in Ambattur offer practical experience with tempering, chocolate molding, and ganache-making. Under expert supervision, learners understand how small changes in temperature or timing affect results.
These sessions also introduce creative applications — from using tempered chocolate for intricate decorations to crafting elegant dessert coatings and pralines. Hands-on experience helps students develop a deeper understanding of texture, flavor balance, and presentation — all crucial elements in professional baking.
7. The Importance of Cooling and Storing Tempered Chocolate
Once you’ve successfully tempered your chocolate, the next step is cooling it properly. Pour or spread the tempered chocolate into molds or onto parchment paper, ensuring a smooth, even surface. Allow it to set at room temperature — not in the refrigerator, as sudden cooling can cause dullness or bloom.
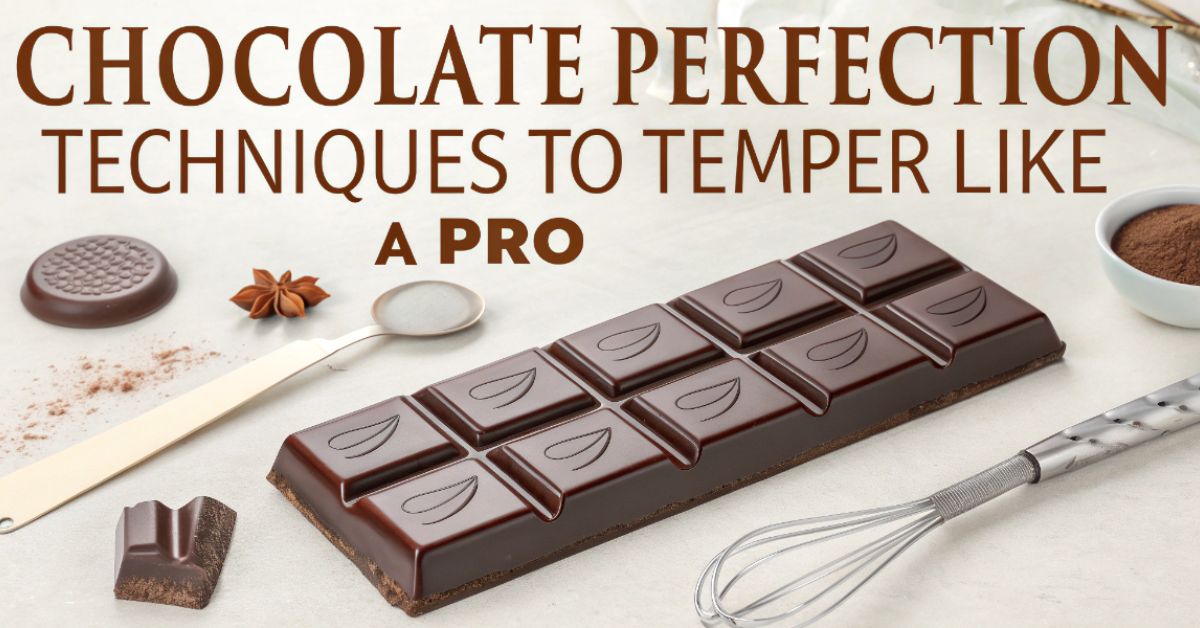
When set, chocolate should have a glossy finish and a satisfying snap when broken. To store it, keep it in a cool, dry place between 16°C and 18°C, away from humidity and direct sunlight. Properly tempered chocolate can stay stable for weeks without losing its sheen or texture.
8. Applying Tempered Chocolate in Baking
Tempered chocolate is not just for candy making — it’s a versatile element in baking. It’s used for:
Coating cakes and truffles for a professional finish.
Creating decorative curls, shards, and molds for garnishing.
Making chocolate shells for mousse and cream-based desserts.
Adding texture to layered cakes and pastries.
A perfectly tempered chocolate layer elevates any dessert, adding a balance of smoothness, crunch, and elegance.
Conclusion
Tempering chocolate is a skill that combines science, precision, and artistry. It demands focus, patience, and understanding — but once mastered, it opens endless possibilities in baking and confectionery. The secret lies in respecting the process: melting, cooling, and heating at just the right moments.